


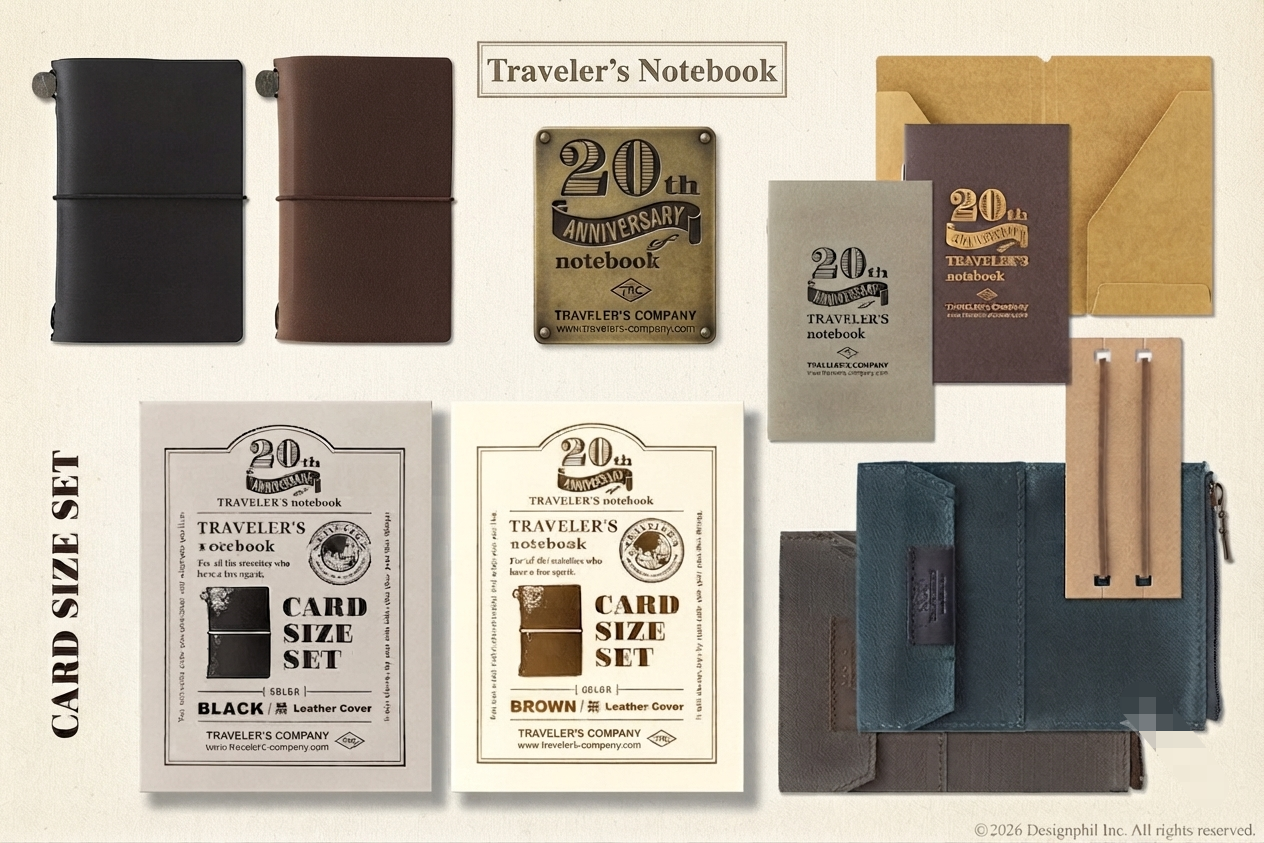
Let’s be real — most commercial traveler’s notebooks are beautiful, but they’ll cost you. And half the time, the layouts don’t quite match how your brain actually works. Making your own? That’s where things get interesting.
Understanding the Traveler’s Notebook: A Creative Journey
The Essence of a Traveler’s Notebook
A traveler’s notebook isn’t just a stack of pages held together by a rubber band. It’s the place where half-formed thoughts, rough sketches, train ticket stubs, and 2 a.m. epiphanies all coexist. Whether you’re wandering a night market in Bangkok or killing time at a layover airport, the right notebook becomes something you actually reach for — not just carry out of habit.
The Personal Touch: Crafting Your Story
Here’s the thing: when you learn how to make traveler’s notebook at home, you’re not just saving money. You’re designing a tool that actually fits the way you travel. Every choice — the cover texture, the paper weight, the elastic color — reflects something about you. That’s not nothing. Most mass-produced stationery can’t say the same.
The Versatility of Your Canvas
One of the best things about this format is how adaptable it is. Need a lined section for journaling, a blank section for sketching, and a dotted grid for planning? Done. You swap inserts in and out as your trip evolves. It grows with you rather than forcing you into a fixed structure — which, honestly, is how good travel gear should work anyway.
—
Materials Needed: Gather Your Supplies for Making a Traveler’s Notebook at Home
Choosing the Right Cover Material
Your cover does the heavy lifting, so think carefully here. Leather is the classic pick — it ages beautifully and gets better-looking with every trip. If budget or ethics are a factor, faux leather and heavy-duty canvas are both solid alternatives that hold up surprisingly well. The sweet spot is something thick enough to keep its shape but flexible enough to fold in half without cracking.
Essential Tools and Accessories
Before you start cutting anything, pull together your tools. You’ll want:
- A sharp pair of scissors or a rotary cutter
- A metal ruler and a self-healing cutting mat
- A hole punch (a standard 3mm works well)
- Elastic cord — pick a color that works with your cover
- A bone folder if you want clean, crisp folds (optional but worth it)
Selecting Paper and Inserts
Paper matters more than people expect. Cheap paper means ink bleed-through, which ruins the experience fast. Aim for 80gsm to 100gsm as a baseline — it handles most pens without drama. You can buy pre-cut A5 or passport-size inserts, or cut your own from larger sheets if you want a custom size. If you sew your signatures by hand, keep a needle and waxed thread nearby.
—
Step-by-Step Guide: How to Make a Traveler’s Notebook at Home
Gather Your Supplies
Take stock of what you’ve already got lying around before buying anything. Chances are the scissors, ruler, and hole punch are already in a drawer somewhere. You’ll mainly need to source the cover material and elastic cord if you don’t have them. Keep everything on a flat, clean surface — a cutting mat is ideal but a thick piece of cardboard works in a pinch.
Crafting the Cover
Lay your cover material flat and measure carefully. Cut it to size, keeping in mind that the cover should be a few millimeters larger than your inserts on all sides — this is what actually protects the pages. A typical open size lands around 8.5 by 11 inches, but adjust to whatever fits your inserts. Take your time with the cuts; a ruler and a sharp blade will give you much cleaner edges than freehand scissors.
Assembling the Notebook
Now for the satisfying part. Punch three to four holes along the spine of your cover, evenly spaced. Thread your elastic cord through the holes, tying it off so there’s just enough tension to hold inserts snugly without being impossible to swap out. Slide in your paper inserts, and that’s genuinely it. The whole thing takes under an hour once you’ve done it once — the first time might take two.
—
Customizing Your Traveler’s Notebook: Tips and Tricks for Personalization
Choose Your Cover Material
If you want the notebook to feel special, the cover is where you invest your energy. Leather develops a patina over time that tells its own story. Fabric opens up a whole world of patterns and textures. Cork is lightweight and eye-catching, and it’s about as eco-friendly as cover materials get. Pick something you’ll actually enjoy looking at every day — it makes a difference in whether you actually use the thing.
Add Personal Touches
This is where you get to have fun. Washi tape, rubber stamps, painted edges, hand-stitched details — all fair game. A lot of people add a small envelope or pocket to the inside cover for flat keepsakes: receipts, postcards, entry tickets. I’ve seen notebooks that tell the entire story of a trip just from what’s tucked into the pockets, before you even read a word.
Organize with Inserts
Think about how you actually use a notebook on a trip. A monthly planner insert for logistics, a lined journal section for daily notes, and a blank sketchbook insert for maps or drawings — that combo covers most needs. You can also add a pocket folder insert for loose papers. Mix and match until the structure matches your brain, not someone else’s idea of how travel journaling should work.
—
Maintaining and Caring for Your Handmade Traveler’s Notebook
Regular Cleaning and Maintenance
A handmade notebook is worth taking care of. Give the cover a gentle wipe-down with a soft dry cloth every now and then — it takes about thirty seconds and keeps dust and grime from working their way into the material. If it’s leather, a light conditioning every few months goes a long way toward keeping it supple.
Protecting from the Elements
Sunlight and moisture are the two main enemies here. Extended sun exposure will fade and warp the cover faster than you’d expect — don’t leave it on a dashboard or a sunny windowsill. When you’re out on a hike or in rainy weather, keeping the notebook tucked inside a small waterproof pouch is worth the minor hassle. (On that note, if your travels tend toward outdoor adventures, it’s worth thinking through your whole gear setup — things like senior park entrance fees or where to base yourself near a national park are worth sorting before you go, not after.)
Preserving the Pages
Acid-free paper is the detail most people skip and later regret. Regular paper yellows and becomes brittle over years; acid-free stock stays clean far longer. If you use the notebook heavily — daily journaling, lots of taping things in — check the binding every few months and reinforce it before it starts to fail. Catching it early is much easier than trying to rescue a notebook that’s already falling apart.
—
FAQs
What’s the best paper for a traveler’s notebook?
Midori MD paper has a devoted following for good reason — it’s exceptionally smooth and plays beautifully with fountain pens. For a more budget-conscious option, anything in the 80gsm to 100gsm range will serve you well for most pens and markers. Honestly, it’s worth picking up a few different paper samples and writing a page or two with your usual pen before committing to a big batch.
How do I bind my pages?
The saddle stitch (fold and staple down the centerfold) is the fastest and most beginner-friendly method. For something more refined that also lies completely flat when open, the coptic stitch is worth learning — it takes a bit of practice but produces a noticeably more durable result. Most craft stores carry bookbinding needles and waxed thread if you don’t already have them. There’s also something satisfying about a hand-sewn binding that a stapled one just doesn’t have.
Can I customize the cover?
Completely. Leather, canvas, recycled denim, book cloth — the options are wide open. Stamps and ink, acrylic paint, pyrography on leather, fabric patches, pressed flowers under resin — people get genuinely creative with this. If you’re heading somewhere specific, designing the cover around that destination (a hand-drawn map, a color palette inspired by the place) makes the notebook feel like part of the trip itself. And if you want to keep the cost of the whole adventure down, hunting for flight discount codes means you’ll have more budget left for the good stationery supplies.